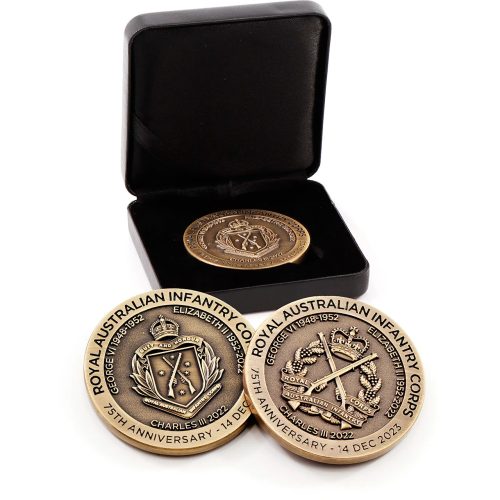
Description
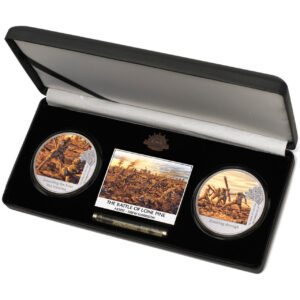
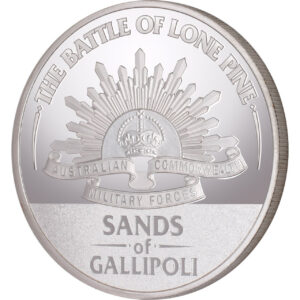
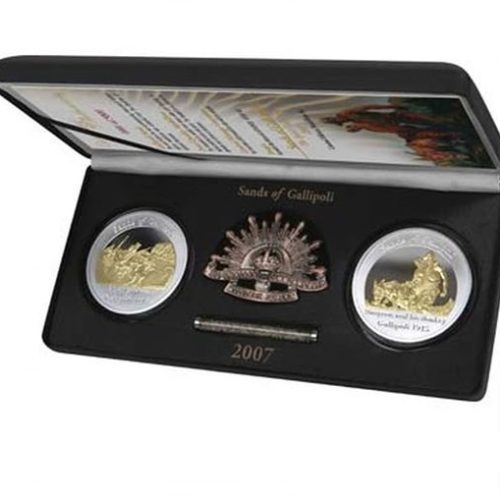
The stunning Sands of Gallipoli 2013 release The Battle of Lone Pine Two Limited Edition Medallions Set.
About the Product
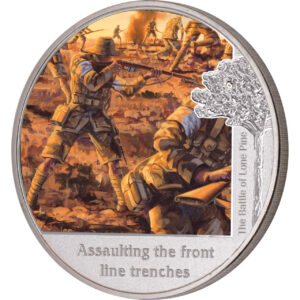
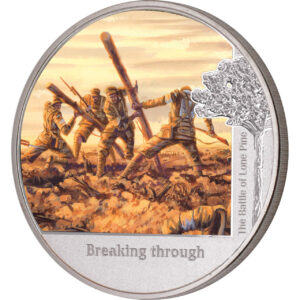
This beautiful sets of high quality medallions feature images from Drew Harrison’s painting “The Battle of Lone Pine”. The medallions are minted from brass alloy and finished in highly polished and frosted silver, over-printed in full colour. Accompanying this set is a glass vial containing authentic sand from Gallipoli, a colour print of the painting set in a metal frame miniature replica 1904 Rising Sun hat badge. No more than 5,000 sets will be released. Each comes with a numbered certificate of authenticity.
About the Artist
Drew Harrison is a practicing artist based in Adelaide, South Australia. His formal illustrative training has provided a solid background for his evolution into contemporary artist. Acrylic paint is Drew’s medium of choice and a material that he has adeptly mastered for creating a wide range of works.
The Battle of Lone Pine
The Battle of Lone Pine, one of the most famous actions of the Gallipoli campaign, was mounted as a diversion to draw Turkish attention away from assaults against Sari Bair, Chunuk Bair and Hill 971. These operations, which became known as the August Offensive, were designed to affect a breakout from the ANZAC perimeter. The Lone Pine battlefield, named for a solitary Turkish Pine that stood there at the start of the fighting, stands near the centre of the eastern line of the Australian and New Zealand trenches around Anzac Cove on a rise known as ‘400 Plateau’, which joined ‘Bolton’s Ridge’ to the south with the ridge along the east side of ‘Monash Valley’ to the north. The terrain here is comparatively gentle and the opposing trenches were some distance apart with a flat no-man’s land between.
The attack was launched by the 1st Brigade in the late afternoon of 6 August 1915 following a long artillery bombardment. The attackers were faced with formidable Turkish positions, sections of which were securely roofed over with pine logs. In places the attackers had to break in through the roof of the trench systems in order to engage the defenders. The main Turkish trench was taken within 20 minutes of the initial charge but this was the prelude to four days of intense hand-to-hand fighting.
During the initial assault the darkness and cramped conditions in the Turkish trenches led to considerable confusion. With both sides unable to use their rifles due to the risk of hitting their own men, the fighting degenerated into a hand to hand melee as Turks and Australians fought each other with bayonets, grenades and bare fists. Fighting raged from 6 to 9 August as the Turks mounted furious counterattacks in an attempt to retake lost ground. Finally the Turks called off any further attempts on 9 August and by 10 August offensive action ceased, leaving the Australians in control of the position.
Turkish losses are estimated at as high as 7,000 killed, missing and captured. Australian losses during the battle amounted to 2,277 men killed or wounded, out of the total 4,600 men committed to the fighting over the course of the battle. These represent some of the highest casualties of the campaign. After the battle, the dead were so thick on the ground that one Australian officer remarked ‘the trench is so full of our dead that the only respect that we could show them was not to tread on their faces’.